
The Eye Exam
A Practical Guide for the Non-Ophthalmologist
8 Steps to the Basic Bedside Ophthalmic Exam
1) Vision
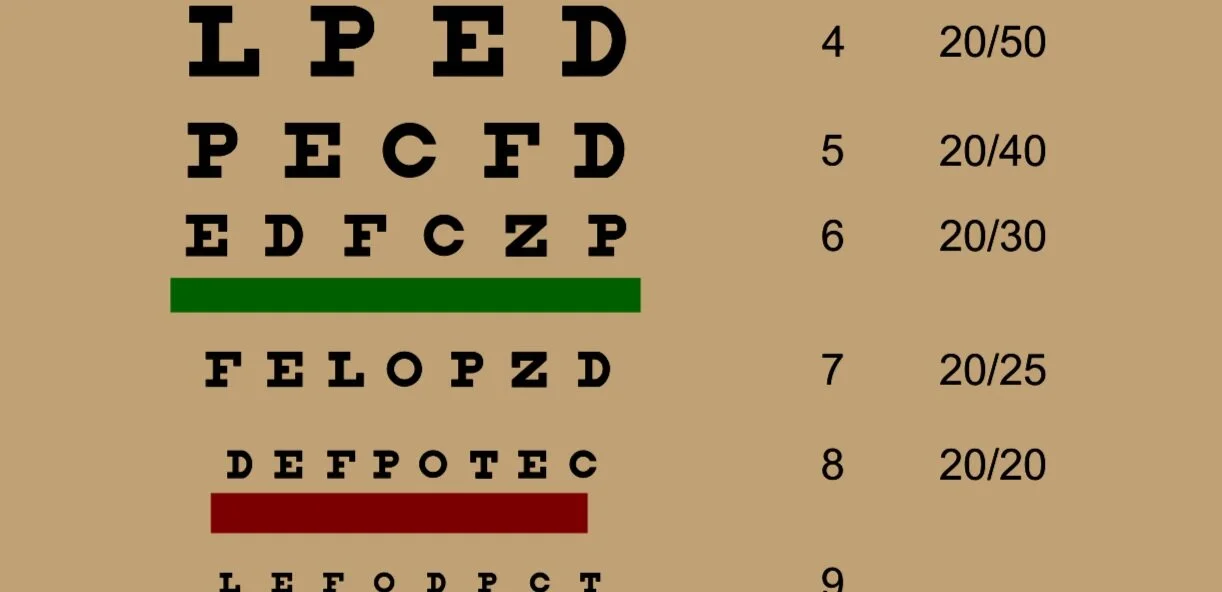
1 of 3 Ophthalmic vital signs. Extremely important to quantify ‘decreased’ or ‘blurred’ vision with a Snellen Chart
5) Alignment
Can be determined accurately via the corneal light reflex or the cover/uncover technique
2) Pupils
The 2nd ophthalmic vital sign. Very important to use proper technique and assess for afferent pupillary defects
6) Visual Fields
Know the correct method to perform confrontational visual field testing
3) Pressure
The 3rd ophthalmic vital sign. Estimate by palpating the eye. Accurate measurement requires use of special equipment
7) External and Anterior Segment
Without a portable slit lamp, this can be performed using a penlight, a magnifying glass or a direct ophthalmoscope
4) Motility
Must assess the nine cardinal directions of gaze and also assess closely for nystagmus
8) Fundus and Optic Nerve
Visualize the optic disc and try to visualize the macula with direct ophthalmoscopy
Video Guide to the Bedside Eye Exam for Non-Ophthalmologists
This video presentation reviews the basic ophthalmic physical exam maneuvers noted above as well as eye findings for all graduating medical students and medical providers. Real examples of both normal and abnormal exam findings are demonstrated.
Detailed Explanation of the 8 Step Exam

1) Vision
Although visual acuity is traditionally measured at very specific distances, for the bedside exam it is okay to get a rough idea of the patient’s vision
This can be done by printing a Rosenbaum pocket chart (shown on left) or using the link on MD Calc below on a cellphone.
Patient should be wearing their glasses (especially patients with presbyopia)
Room should be bright
Make sure to test one eye at a time and cover the other
If you suspect patient has a need for glasses, you can make patient see through a pinhole to better assess visual acuity
If vision is too poor to see letters:
Assess whether patient can count your fingers at 6ft and then at 3ft. If not:
Test if patient can perceive you waving your hand in front of their eye. If not:
Shine a light in their eye and ask if they can perceive it. If not:
Patient has no light perception and is fully blind in that eye
(Advanced) Can also assess for color vision loss (can be associated with optic nerve lesions) with Ishihara charts
(Advanced) Can also assess retina with the Amsler grid to test for vision distortions seen with various retinal pathologies

2) Pupils
In order to get most accurate exam you must:
Dim the lights
Ask patient to fixate gaze on a point far away (to prevent accommodative miosis)
Stand to patient’s side and position yourself very near patient to notice subtle changes (especially with dark colored pupils)
Shine light directly in the patients central vision in both eyes
Try to describe the size of the pupil changing (i.e. constricts from 4mm->3mm)
An afferent pupillary defect can be very subtle and requires swinging light back and forth every 2 seconds between pupils while looking very closely. See video here on how to do this properly

3) Pressure
Is ideally assessed using specialized instruments such as a tonopen (pictured, requires numbing drops) or an iCare tonometer, which may be available in the Emergency Department.
However, in the absence of this, pressure can be very roughly estimated as follows:
Ask patient to close eyes and look down
Using both index fingers, palpate the patients eyeballs, using your own eyes as a baseline control. A very firm eye may be indicative of acute angle closure glaucoma
WARNING: if you suspect the patient has an open globe injury, DO NOT attempt this maneuver, as it may cause further damage

4) Motility
Ask the patient to keep their head still and follow your finger with their eyes
Observe very closely for asymmetry between the eyes and any nystagmus that presents in a particular gaze
If patient complains of double vision, try to isolate in which gaze direction they are experiencing double vision
Correlate significant exam findings with the responsible muscle shown on the right
Can also test for oculocephalic reflex if eye movements abnormal to check for supra-nuclear palsies (see video here)

5) Alignment
Slight deviations in alignment may not be easily visible and require maneuvers to reveal themselves
By alternating covering/uncovering of the non-affected eye, you can make the affected eye fixate and move, revealing an alignment problem
Alternatively, you can also shine a light on both eyes and assess for the white dot reflex on the cornea. Asymmetry of the reflex between the eyes suggests misalignment. See video of this here

6) Visual Fields
This test needs to be performed very specifically in order to be deemed accurate. We highly recommend seeing the video below on instructions
Your hand needs to be equidistant from you and the patient, so that you can use your eye as a normal control
If patient is failing static test (counting fingers), can attempt the wiggling finger test, since that is easier for patients to pick up
Always try to correlate field defects to a type of lesion. See cheat sheet on this here

7) External and Anterior Segment
Review our anatomy section on details of the normal anterior segment
Important to be systematic, examining from outside to inside with penlight, magnifying glass or direct ophthalmoscope as follows:
Lids and lashes: Any signs of lid inflammation (blepharitis), inwards pointing lashes (trichiasis), lid swelling (chalazion or hordeolum), outwards directed lids (ectropion), droopiness (ptosis). If concern for foreign body under lid, can easily evert lid with a cotton tip to look underneath
Conjunctiva and Sclera: Redness (injection), swelling (chemosis), hemorrhage, discharge (conjunctivitis)
Cornea: abrasion vs. ulceration (usually requires fluorescein dye to properly visualize, key finding of opaque infiltrate in ulcers)
Iris: traumatic detachment (iridodialysis)
Anterior chamber: Inflammatory material (hypopion) or blood (hyphema)
Lens: Cataract formation (by shining light in pupil and assessing for opacity)

8) Optic Nerve and Fundus
Ensure room is dark to allow for adequate pupil dilation
Adjust ophthalmoscope light and focus as shown in tutorial video below
Assess red-reflex from afar and compare variation in between eyes and assess for leukocoria. Essential differential diagnosis of Leukocoria for non-ophthalmologists:
Retinoblastoma (pediatrics)
Cataract
Retinopathy of prematurity (pediatrics)
Visualize the optic nerve and macula. Comment on the optic disc (sharpness, color, vessels, hemorrhage, cup to disc ratio), vessels and macula according to our guide in the retina anatomy section
Important red flags on exam necessitating urgent ophthalmology evaluation (covered in depth on section on ocular emergencies):
Acute onset pupil asymmetry (anisocoria): Must rule out brain mass
Red eye + pain, light sensitivity: Diverse infectious/inflammatory etiologies explored more in our section on ‘eye complaints’
Concern for corneal ulcer (corneal lesion + infiltrate)
Concern for open globe injury. See here for excellent guide. Signs include:
Penetrating lid injury
Subconjunctival hemorrhage
Hyphema
Iridodialysis
Loss of red reflex
Chemical injury. Will have prominent corneal opacity and pain
Orbital fracture. May have crepitus to orbit palpation + restricted eye movements
Bleeding behind the eyeball (retrobulbar hemorrhage): Will have pain, periorbital ecchymosis, eyelid hematoma, proptosis, visual loss, subconjunctival hemorrhage
Orbital cellulitis: Pain, proptosis, diplopia, chemosis, restricted eye movements, fever.
Retinal detachment: Dramatic increase in floaters, flashes of light, curtain like vision loss in one eye, unequal red reflex